Haynes Forums  

Go Back   Haynes Forums > Haynes Roadster Forums > Announcements
FAQ Members List Calendar Search Today's Posts Mark Forums Read

Reply
 
Thread Tools Display Modes
  #431  
Old 2nd August 2014, 10:28 PM
CTWV50's Avatar
CTWV50 CTWV50 is offline
Senior Member
 
Join Date: Aug 2010
Posts: 1,297
Default

Fitted my stick on bendy side repeaters.


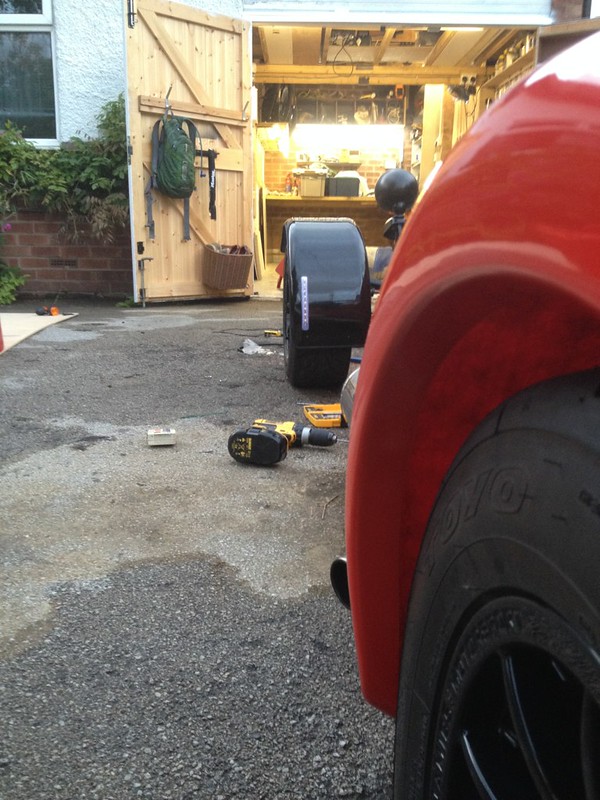
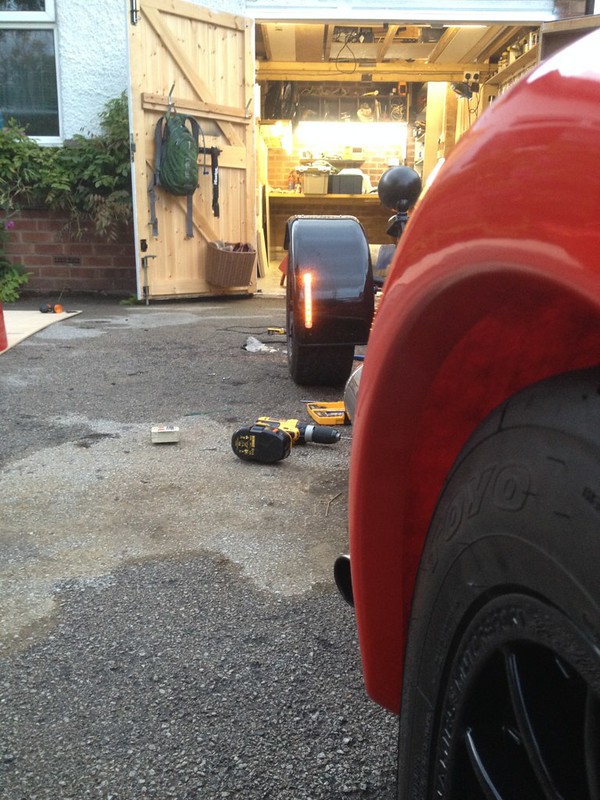
That will do. They may fall off though! Only had to drill a 4mm hole to fit and a block resistor in parallel.
Reply With Quote
  #432  
Old 2nd August 2014, 10:54 PM
K4KEV's Avatar
K4KEV K4KEV is offline
Senior Member
 
Join Date: Feb 2010
Location: WINGATE CO DURHAM
Posts: 1,511
Default

Hi Chris.....I hope I am wrong about this....BUT I am not so sure the angles look right for a repeater "pass" is that really 5 degrees out from the repeater ? but not only that from the rear the angles of "e" (from the iva diagram) it would certainly not be visible due to the rear arches, maybe some one can clarify this or am I reading it totally wrong
Reply With Quote
  #433  
Old 2nd August 2014, 11:02 PM
CTWV50's Avatar
CTWV50 CTWV50 is offline
Senior Member
 
Join Date: Aug 2010
Posts: 1,297
Default

Quote:
Originally Posted by K4KEV View Post
Hi Chris.....I hope I am wrong about this....BUT I am not so sure the angles look right for a repeater "pass" is that really 5 degrees out from the repeater ? but not only that from the rear the angles of "e" (from the iva diagram) it would certainly not be visible due to the rear arches, maybe some one can clarify this or am I reading it totally wrong
Hi Kev, that image was taken probably less than 5˚, I wasn't really trying to show the viewable angles in that shot but there's no way that side repeater is not visible from 5˚ at any possible height. I found this thread recently and he passed no issue on his build. I hope that clarifies things.
Reply With Quote
  #434  
Old 3rd August 2014, 12:13 AM
K4KEV's Avatar
K4KEV K4KEV is offline
Senior Member
 
Join Date: Feb 2010
Location: WINGATE CO DURHAM
Posts: 1,511
Default

Thank god for that ....looking really good by the way, shut lines around the bonnet look very neat without the usual edging, I would be very surprised if you don't get a first time pass with the meticulous manner with which you have went about your build
Reply With Quote
  #435  
Old 3rd August 2014, 10:22 AM
CTWV50's Avatar
CTWV50 CTWV50 is offline
Senior Member
 
Join Date: Aug 2010
Posts: 1,297
Default

Quote:
Originally Posted by K4KEV View Post
Thank god for that ....looking really good by the way, shut lines around the bonnet look very neat without the usual edging, I would be very surprised if you don't get a first time pass with the meticulous manner with which you have went about your build
Thanks, I think you have to aim for a first time pass in the hope you only get a few small fails that can be sorted out quickly. I was dreading nose, bonnet, scuttle alinement issues but I got lucky I think.
Reply With Quote
  #436  
Old 7th August 2014, 09:33 AM
CTWV50's Avatar
CTWV50 CTWV50 is offline
Senior Member
 
Join Date: Aug 2010
Posts: 1,297
Default

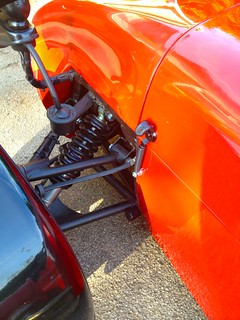
Reached a small milestone this week. I have now completed the from the tip of the nose to the to the start of the bonnet including side repeaters and ballast resistors wired in parallel, lights, self centring, IVA exterior projections and grill.


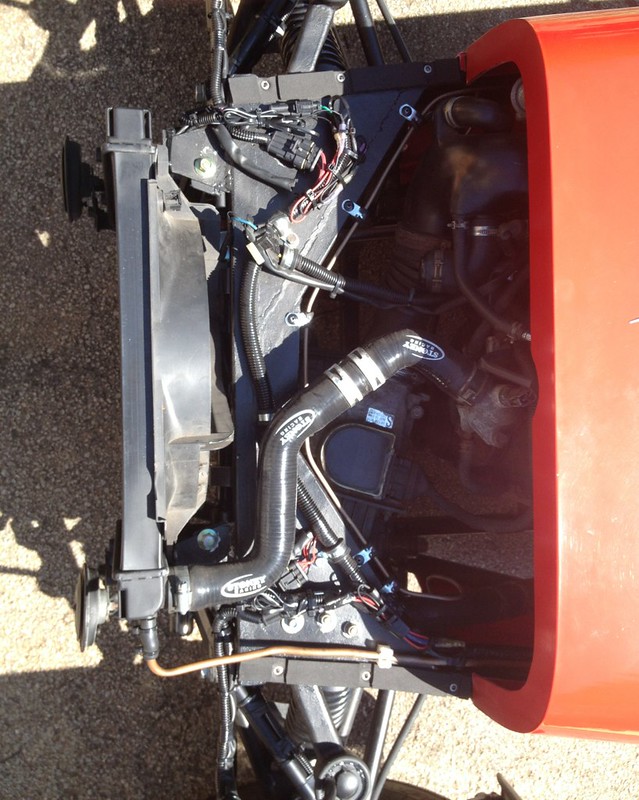
Took a little celebration picture. To motivate me to do the rest soon.


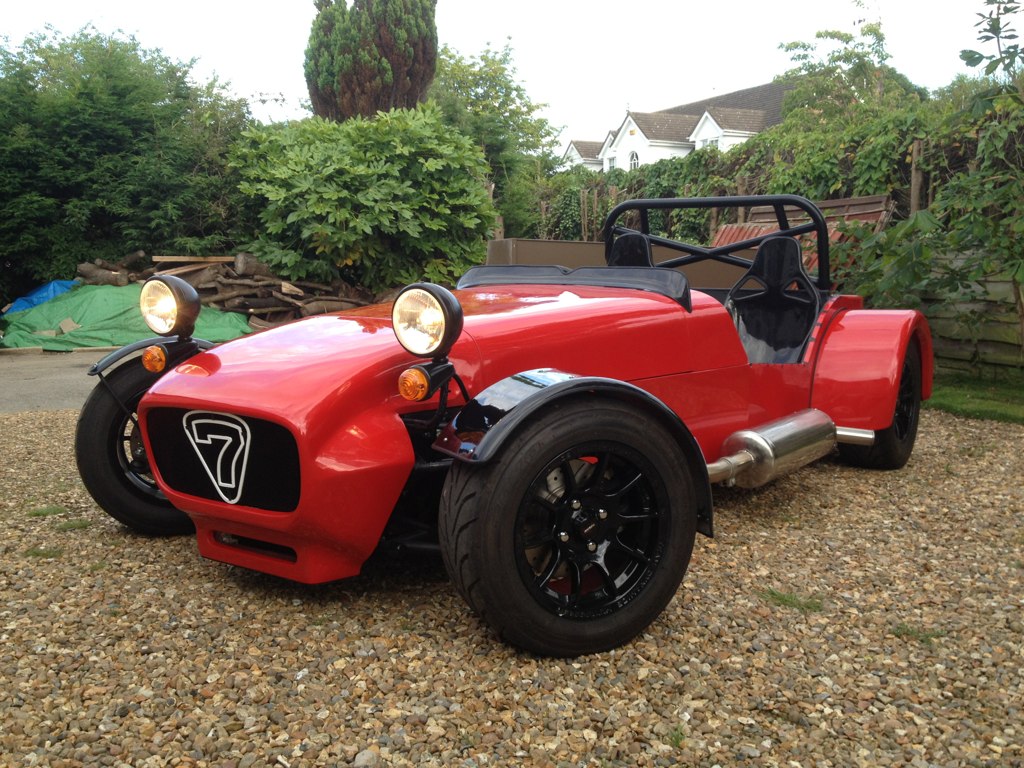
Next is side panels secured, exhaust hole surround, bonnet catches and everything else that need finishing off under the bonnet.
Reply With Quote
  #437  
Old 7th August 2014, 08:13 PM
skov's Avatar
skov skov is offline
Senior Member
 
Join Date: Jan 2011
Posts: 1,085
Default

Looking awsome mate, all coming together very nicely indeed!
Reply With Quote
  #438  
Old 8th August 2014, 02:19 PM
Davidbolam Davidbolam is offline
Senior Member
 
Join Date: Mar 2011
Location: Gosforth, Newcastle Upon Tyne
Posts: 856
Default

That looks very nice. Shouldn't be long now until it's all done!
__________________
Click to see my build photos on Flikr

http://www.flickr.com/photos/67112582@N03/

Saturn MX5 Based Chassis, Limited Slip Diff & 2.4 Quick Rack.

Build cost.... seems to be spending more on tools than car bits at the moment! (they will be handy in the future though).
Car iva'd and passed 15/08/2014. Finished weight 572kg.
Reply With Quote
  #439  
Old 8th August 2014, 09:32 PM
CTWV50's Avatar
CTWV50 CTWV50 is offline
Senior Member
 
Join Date: Aug 2010
Posts: 1,297
Default

Quote:
Originally Posted by skov View Post
Looking awsome mate, all coming together very nicely indeed!
Quote:
Originally Posted by Davidbolam View Post
That looks very nice. Shouldn't be long now until it's all done!

Thanks, still enjoying it. Not rushing just taking my time when the weathers nice. Be a bit sad to finish it tbh. I ordered these bonnet spring catches off ebay, and they've worked out well. Initially I thought they'd be an exterior projections nightmare but I found some rubber covers in my little junkyard that have done the trick.


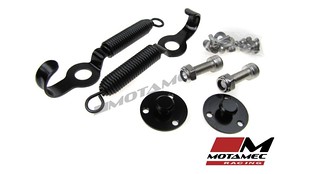
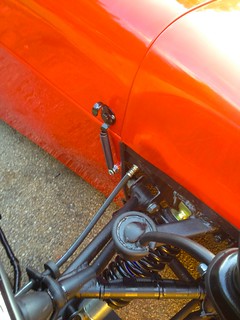
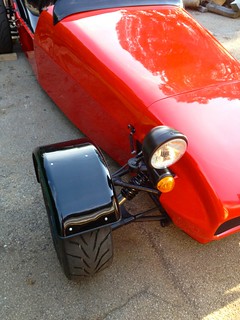
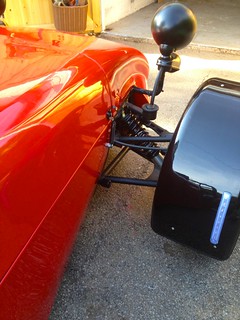
Last edited by CTWV50 : 8th August 2014 at 09:35 PM.
Reply With Quote
  #440  
Old 8th August 2014, 09:33 PM
CTWV50's Avatar
CTWV50 CTWV50 is offline
Senior Member
 
Join Date: Aug 2010
Posts: 1,297
Default

Here are those covers. Fit like a glove.


Side are also all buttoned up too now.
Reply With Quote
Reply


Thread Tools
Display Modes

Posting Rules
You may not post new threads
You may not post replies
You may not post attachments
You may not edit your posts

vB code is On
Smilies are On
[IMG] code is On
HTML code is Off
Forum Jump


All times are GMT +1. The time now is 08:04 AM.


Powered by vBulletin® Version 3.6.4
Copyright ©2000 - 2024, Jelsoft Enterprises Ltd.